Yes, a blender can be used as a juicer by blending fruits and vegetables with 120–240 milliliters of water, coconut water, or juice, then straining the mixture through a nut milk bag, cheesecloth, or fine mesh strainer. Use a high-powered blender to produce a smoother, drinkable juice with minimal pulp.
Why Use a Blender Instead of a Juicer
Many people wonder if a blender can be used as a juicer when exploring healthier habits. The simple answer is yes! First and foremost, let’s explore when and why you might choose this approach.
When a juicer isn’t an option
For many health enthusiasts, purchasing a dedicated juicer isn’t always feasible. Juicers are typically more expensive than blenders, making blenders a budget-friendly alternative. Furthermore, kitchen space is often at a premium. Blenders take up less counter space than juicers, which matters in smaller kitchens.
Sometimes, you might want to try a juice cleanse or detox without investing in specialized equipment. In these situations, your trusty blender can step in to help you achieve your health goals without additional purchases.
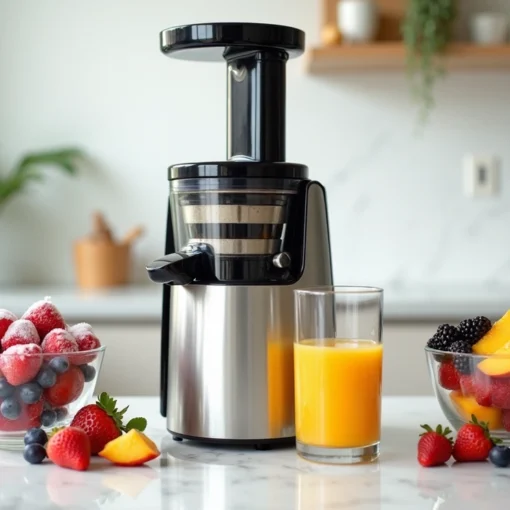
Blender juicing vs traditional juicing
The fundamental difference between these methods lies in what remains after processing. Traditional juicing extracts liquid while removing fiber and pulp. In contrast, blender juicing initially retains everything – including the nutritious fiber that helps regulate blood sugar and keeps you feeling full longer.
To achieve a juice-like consistency with a blender, you’ll need an extra step: straining the blended mixture through a filtration bag, cheesecloth, or fine mesh strainer. This process takes slightly more time but gives you the option to enjoy either whole-food juice with fiber or strained juice similar to what traditional juicers produce.
Benefits of using what you already have
The versatility of blenders provides distinct advantages:
- Greater versatility – Unlike single-purpose juicers, blenders make smoothies, soups, sauces, and more
- Less food waste – Blending uses the whole fruit, reducing waste compared to traditional juicing
- Easier cleanup – Most blenders have fewer parts than juicers, making them quicker to clean
- Better fiber retention – Keeping fiber helps fill you up and supports digestive health
Essentially, blending allows you to pack in nutrients while maintaining the fiber that helps regulate digestion and blood sugar levels. Consequently, your blended juice might keep you satisfied longer than traditional fiber-free juice.
Actually, creating juice with a blender gives you flexibility that dedicated juicers can’t match – you can choose whether to strain out pulp or keep the fiber intact, depending on your preferences and health goals.
What You Need to Start Juicing with a Blender
Ready to transform your blender into a juicing powerhouse? Here’s everything you’ll need.
Choosing the right blender
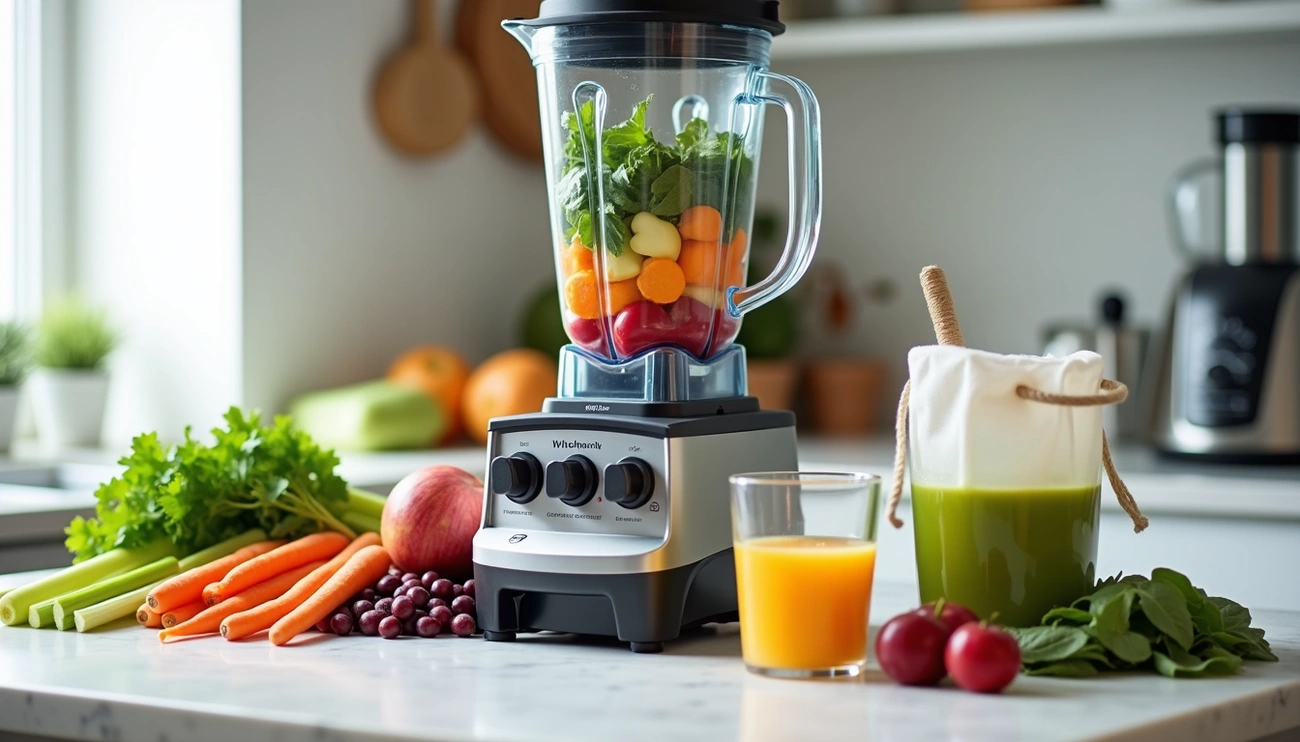
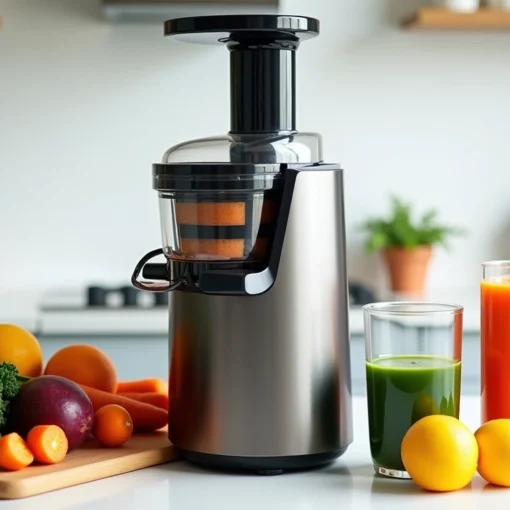
The foundation of successful blender juicing starts with the right equipment. High-powered blenders like Vitamix or Blendtec offer the best results, as they can thoroughly pulverize tough ingredients into smooth juice. These machines feature powerful motors (1,400+ watts) that effortlessly break down fibrous vegetables and fruits.
For those on a budget, mid-range options like the Breville BBL605XL Hemisphere Control Blender can still deliver decent results. Generally, look for blenders with at least 700 watts of power to handle tougher produce. Steer clear of inexpensive department store blenders (around $30), as they typically won’t provide the performance needed for proper juicing.
Straining tools: nut milk bag, cheesecloth, mesh strainer
After blending, straining is often necessary to achieve juice-like consistency. Your options include:
- Nut milk bag (top choice) – These reusable, fine-mesh nylon bags filter juice most effectively. They’re sturdy, easy to clean, and won’t stretch out like organic materials. Perfect for extracting every bit of juice while containing all pulp.
- Fine mesh strainer (second choice) – Less effective than nut milk bags since the holes aren’t as microfine, nevertheless, these stainless steel options work well for basic straining. Look for ones with reinforced rims and sturdy handles for reliable control.
- Cheesecloth (third choice) – More challenging to use as you must spread it out, gather all edges, twist, and squeeze. This option tends to be messier but works in a pinch. Consider pre-cut, hemmed-edge versions for easier handling.
Optional add-ons for better results
Beyond the basics, several accessories can enhance your blender juicing experience:
First, specialized pulp strainers made from stainless steel offer exceptional durability and corrosion resistance. These universal-shape strainers fit most pitcher sizes and deliver a smoother, pulp-free juice.
Secondly, adding specific cleaning tools saves time during cleanup. A simple trick: add hot water and a drop of dish liquid to your blender container, blend briefly, then rinse.
Finally, consider storage solutions for leftover juice. While fresh is best, proper containers can extend shelf life when making larger batches.
How to Make Juice with a Blender: Step-by-Step
Now let’s get to the practical part! Making juice with a blender is straightforward once you know the proper technique. Let me walk you through the exact process of turning your ordinary blender into an effective juicing machine.
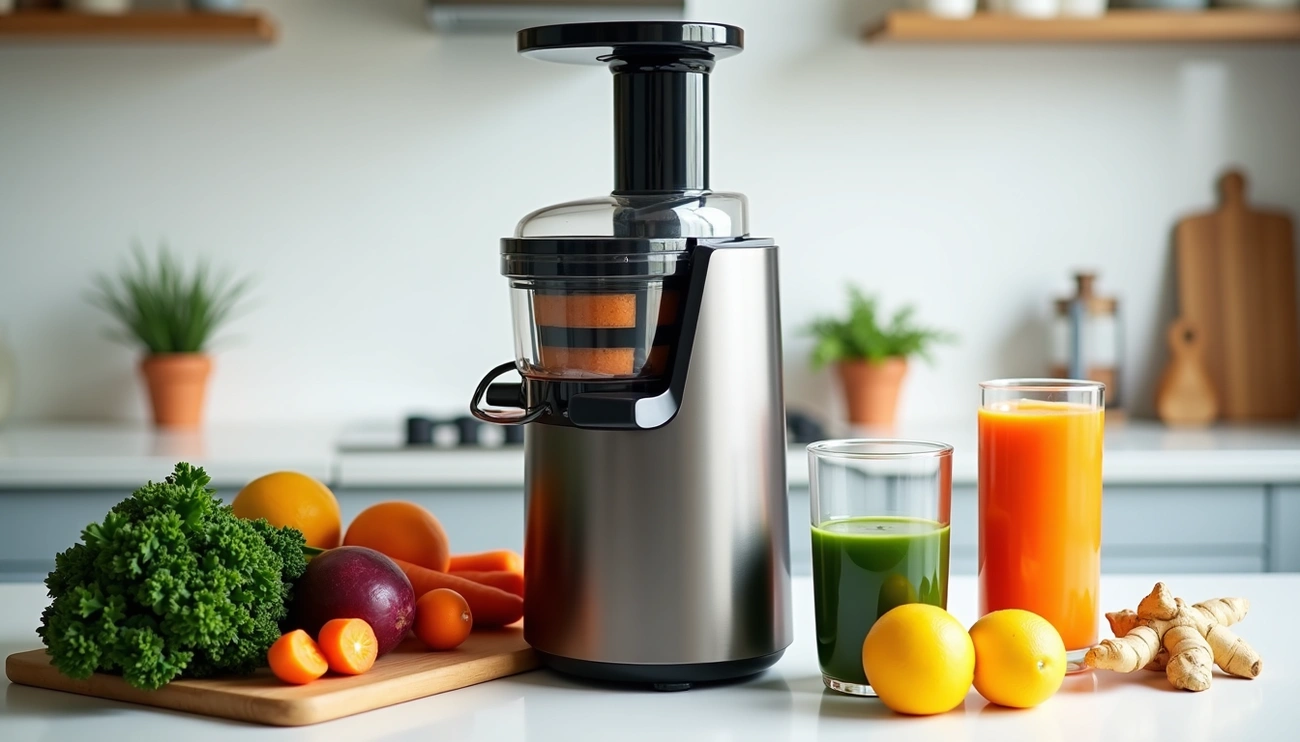
1. Prep your fruits and vegetables
First, thoroughly wash all produce using antimicrobial wash or baking soda and water to remove bacteria and soil. Remove tough skins, large pits, and seeds (cherry-sized or larger) which can damage blades and add bitterness. Cut larger ingredients like pineapples, beets, and carrots into smaller pieces for easier processing. Notably, if the peel doesn’t affect flavor or color, keep it on—there’s often a high concentration of nutrients in the outer layer.
2. Add ingredients in the right order
Pour liquids like water or lemon juice into the blender first to help the blades move efficiently. Next, add any sugar or soft ingredients, followed by harder fruits and vegetables. This strategic layering helps create a vortex that pulls ingredients toward the blades. For leafy greens, add a quarter cup of water first, blend for 30 seconds, beforehand adding remaining ingredients.
3. Blend until smooth
Secure the lid and start blending on low speed. Gradually increase to high speed and blend for approximately one minute or until everything is completely pulverized. If leaves stick to the sides, stop and push them down with a spatula or tamper. For thinner consistency, simply add more water as needed.
4. Strain the mixture (if needed)
To remove pulp, pour your blended mixture through a filtration bag, cheesecloth, or fine-mesh strainer positioned over a bowl. Press down gently on the pulp with a spoon or rubber spatula to extract maximum juice. For ultra-smooth results, you might strain twice. Don’t discard the pulp—it can be added to cracker batters or other recipes.
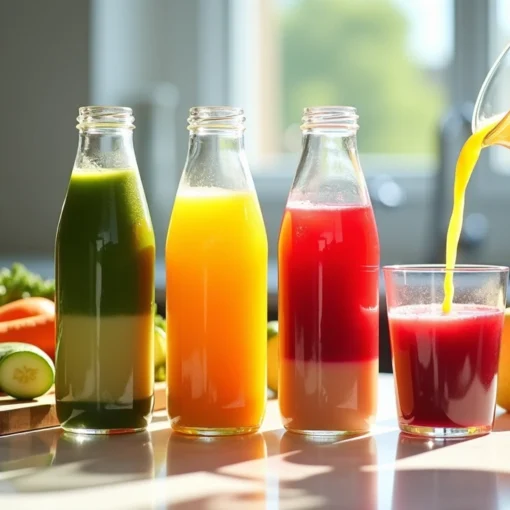
5. Serve fresh or store properly
Ideally, drink your juice immediately after making it to get maximum nutritional benefits. Otherwise, store in airtight glass containers filled to the top (minimizing air exposure) for up to 48-72 hours in the refrigerator. For longer storage, freeze your juice, leaving half an inch at the top for expansion. Once thawed in the refrigerator, consume right away.
Tips to Improve Your Blender Juicing Experience
Taking your blender juicing to the next level requires a few insider tips and tricks. With these practical suggestions, you’ll get better results every time.
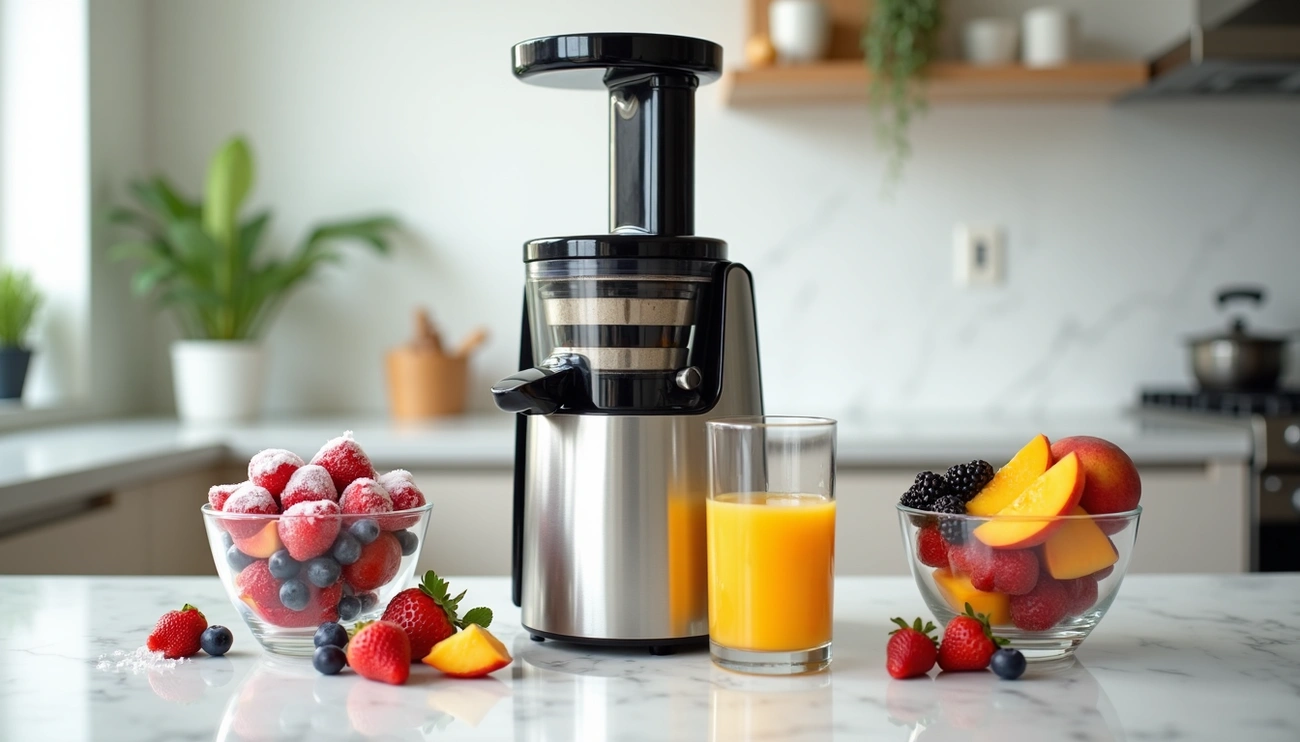
Best produce for blender juicing
Not all fruits and vegetables perform equally when juiced in a blender. Juicier fruits such as peaches, apricots, pears, grapes, berries, and oranges work best. Conversely, fruits like bananas, mangoes, papaya, avocado, and greens such as spinach are better suited for smoothies rather than juicing. For nutrient-dense blends, consider adding cucumber, kale, and carrots.
How to reduce pulp and improve texture
For smoother juice, a nut milk bag produces the best results as you can hand-squeeze the liquid through, extracting maximum juice while leaving behind dry pulp. A fine mesh strainer works as a second choice, though the holes aren’t as microfine. Cheesecloth is messier yet functional—spread it out, gather all edges, twist, and squeeze. Remember to remove rings and trim jagged fingernails first to prevent tearing.
Creative ways to use leftover pulp
Never throw away nutritious pulp! Instead:
- Add to cracker batters for bulk and fiber
- Use in homemade bread for moisture and nutrients
- Transform into fruit leather for healthy snacks
- Create veggie burgers with added texture
- Freeze in containers for later use
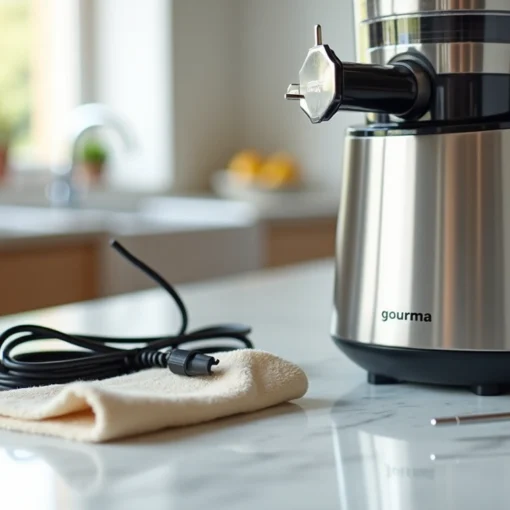
How to clean your tools quickly
For fast cleanup, fill the blender halfway with warm water, add a drop of dish soap, and blend on high for 30 seconds. This simple trick dislodges residue effectively. For stubborn discoloration, try a baking soda solution: add one tablespoon of baking soda per half-liter of hot water and soak overnight.
Conclusion
Blender juicing offers a practical solution for anyone who wants to enjoy fresh juices without purchasing a dedicated juicer. Throughout this guide, we’ve seen how your regular blender can transform into an effective juicing machine with just a few simple steps and accessories.
Your blender actually provides several advantages over traditional juicers. First, you’ll save money and kitchen space while enjoying the versatility of a multi-purpose appliance. Additionally, you gain control over fiber content – either keeping the nutritious pulp for whole-food benefits or straining it for a smoother texture.
The step-by-step method we’ve explored makes the process straightforward. After proper preparation and blending, you can decide whether to strain your mixture or enjoy it with all the fiber intact. Certainly, the right tools make a difference – high-powered blenders yield better results, and quality straining accessories ensure smoother juice.