Most Hurom juicer parts are not dishwasher safe because high heat can warp plastic components. Hurom recommends hand washing all parts with lukewarm water immediately after use to prevent pulp buildup and damage. However, newer Easy Clean models like the H400 and H310 include select dishwasher-safe parts.
Can You Put a Hurom Juicer in the Dishwasher?
Despite what many assume about modern appliances, the answer to “is hurom juicer dishwasher safe” is more complicated than a simple yes or no. Let me clear up the confusion based on official information.
Which parts are dishwasher safe?
According to Hurom’s official website, only the auger (screw) is dishwasher safe. This contradicts some common misconceptions about these premium juicers. Despite what some reviewers suggest about most parts being dishwasher-friendly, Hurom specifically recommends limiting dishwasher cleaning to just the auger.
For clarity, here’s what should NOT go in your dishwasher:
- Strainers/juicing screens
- Juice chamber
- Pulp containers
- Hoppers/funnels
- Seals and gaskets
What Hurom says in the manual
Hurom explicitly recommends cleaning all parts by hand rather than using a dishwasher. Indeed, this guidance appears consistently across their official documentation. Although some newer “Easy Clean” models feature improved designs with fewer parts to rinse and no fine mesh filters, the company still advises manual cleaning for optimal care and longevity.
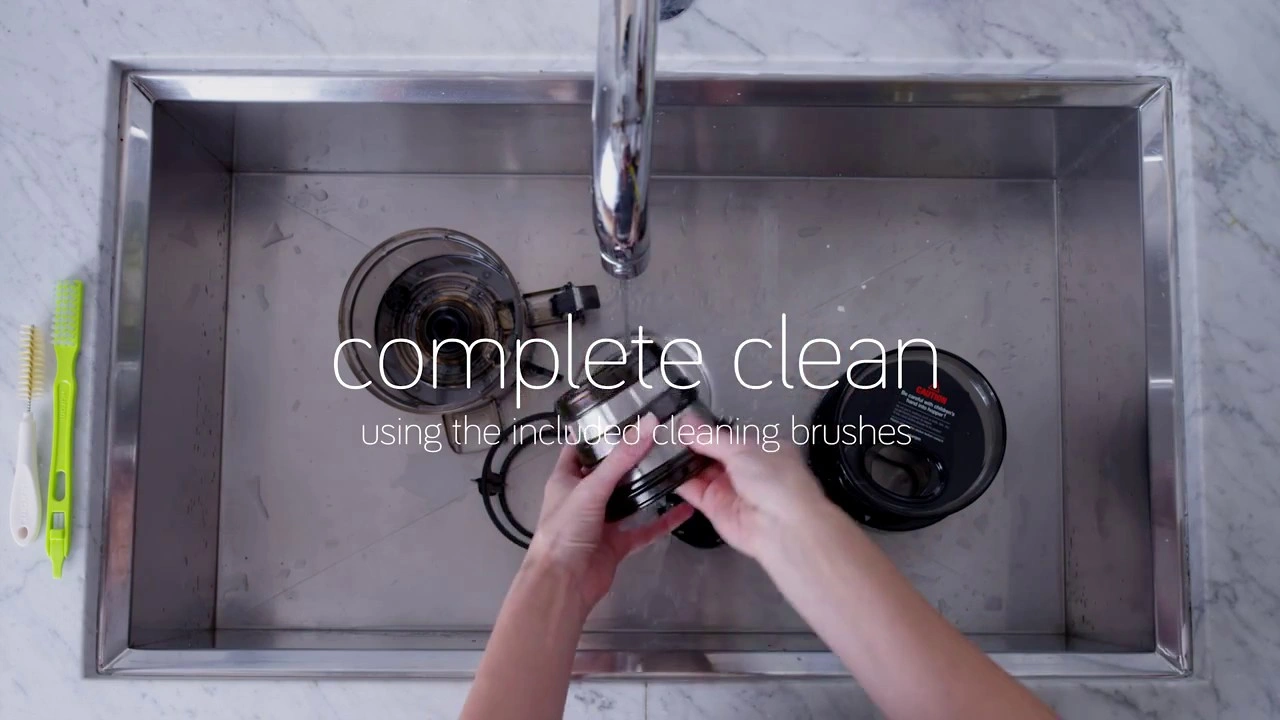
Furthermore, Hurom provides specialized cleaning brushes with their juicers specifically designed to clean small crevices and difficult-to-reach areas. This underscores their intention that users clean components manually rather than relying on dishwashers.
Risks of using a dishwasher for Hurom parts
Placing Hurom components in the dishwasher carries several potential consequences. First, high temperatures can warp or deform plastic parts, especially those made from lower-quality plastics. Moreover, the intense heat may damage magnetic sensors in certain models, potentially rendering the entire device inoperable.
Particularly concerning is the effect on rubber seals and gaskets. The combination of high temperatures and harsh detergents can deform these crucial components, leading to leaks and decreased performance over time. Most Hurom parts should never be exposed to temperatures exceeding 80 degrees Celsius.
Consequently, though it might seem convenient to toss everything in the dishwasher, doing so may significantly reduce your juicer’s lifespan. Hand washing remains the safest approach for preserving both functionality and appearance of your investment.
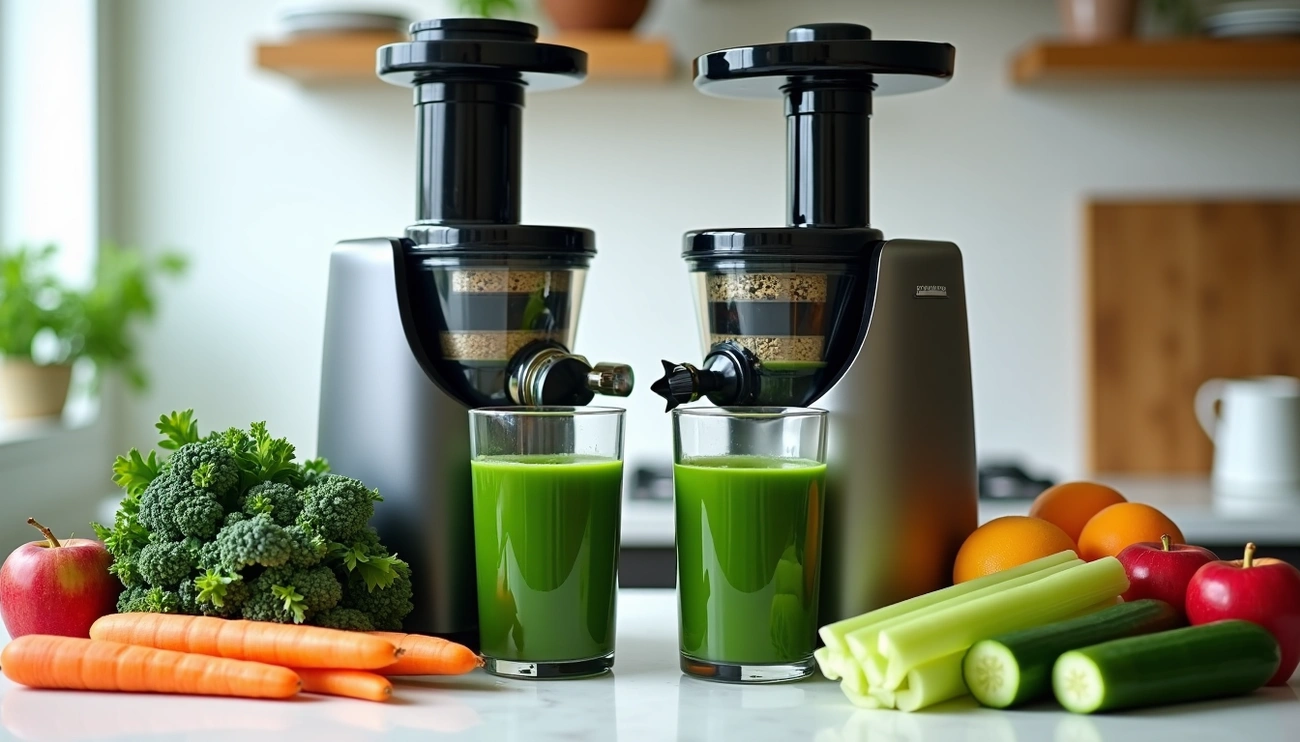
How to Clean a Hurom Juicer Safely
Now that we know a Hurom juicer requires careful cleaning beyond dishwashers, let’s explore the proper cleaning technique. Following these steps carefully will ensure your juicer stays in optimal condition for years.
Step 1: Disassemble the juicer
First, always unplug your Hurom slow juicer before beginning the cleaning process. Hold the chute with one hand while supporting the juice extraction spout with your other hand, then lift up. Twist the hopper counterclockwise to remove it completely. Next, remove the auger (also called the squeezing screw) by pulling it out. Finally, separate the strainer from the spinning brush by gently pressing against it.
Step 2: Rinse immediately after use
The timing of your cleaning routine makes a substantial difference. Rinse each component with lukewarm water immediately after juicing. If immediate cleaning isn’t possible, fill a basin with soapy water and soak the removable parts until you can clean them properly. Remember, the sooner you clean after juicing, the easier the process will be.
Step 3: Use a soft brush for mesh and crevices
For the strainer mesh and other hard-to-reach areas, use the cleaning brush that came with your Hurom juicer. This specially designed brush effectively removes pulp stuck in small crevices. For newer models with the Easy Clean chamber set, the two-part auger meshes together to strain juice with minimal pulp, making cleaning considerably easier.
Step 4: Dry thoroughly before reassembling
After cleaning each component, use a soft cloth or kitchen towel to dry every part thoroughly. This prevents water marks and potential mold growth. Once dry, reassemble your juicer carefully. As a final step, wipe the exterior with a damp cloth to remove any juice splashes or watermarks.
For a quick clean between juicing sessions, try Hurom’s smart hack: pour water into the hopper with the juice cap closed, turn on the juicer so the brush sweeps the strainer, then open the juice cap to let water flow out.
Expert Tips to Avoid Damage When Cleaning
Keeping your Hurom juicer in pristine condition requires more than just regular cleaning—it demands proper technique. After examining Hurom’s official recommendations alongside experienced users’ advice, I’ve compiled these expert tips to maximize your juicer’s lifespan.
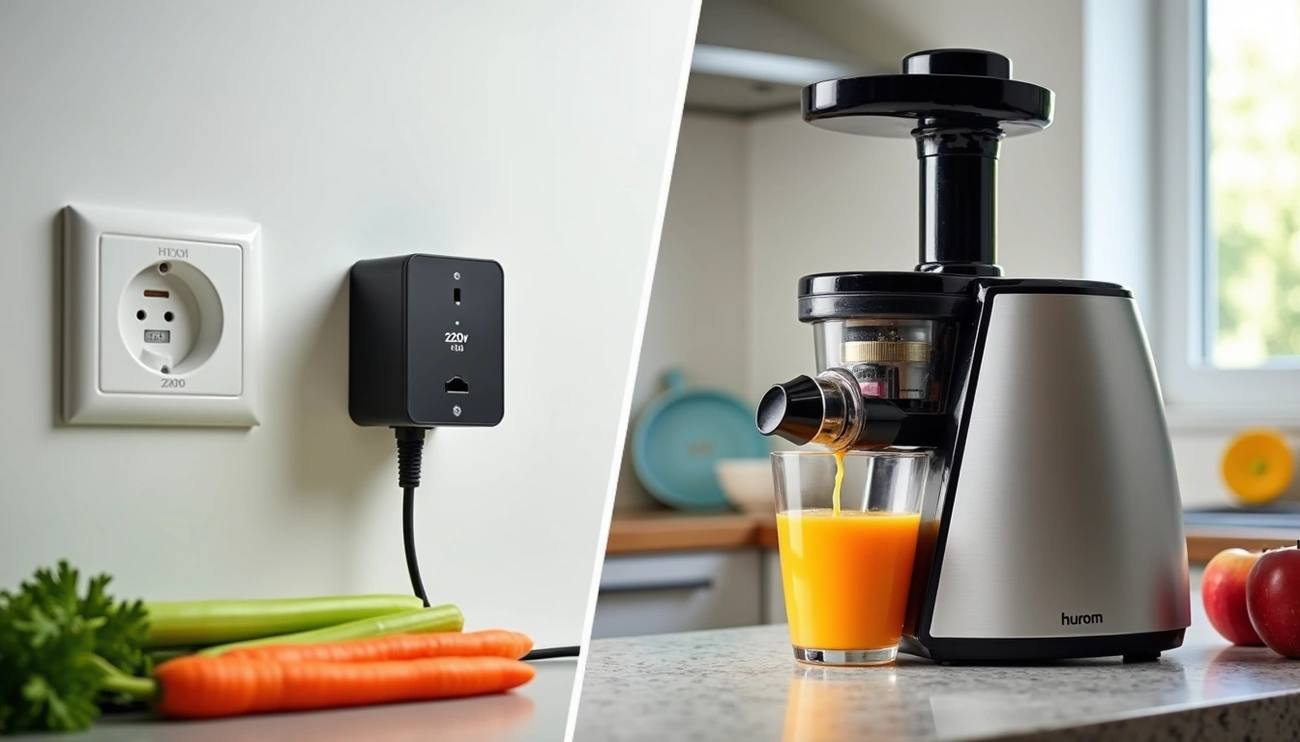
Avoid hot dishwasher cycles
Even for the auger (the only officially dishwasher-safe part), high temperatures pose serious risks. Hot water can warp plastic components and compromise their structural integrity over time. If you absolutely must use a dishwasher, place non-metallic items on the top rack only and select the gentlest cycle available. Remember that even though some resources suggest certain parts are dishwasher-safe, Hurom officially states that only the auger is dishwasher safe.
Don’t use harsh detergents or bleach
Harsh chemicals can degrade plastic and rubber parts, substantially reducing your juicer’s lifespan. Instead, opt for mild dish soap and warm water for routine cleaning. Many users report that simply using a dish sponge for most parts works perfectly well. The gentle approach preserves both functionality and appearance.
Use vinegar and baking soda for buildup
For stubborn mineral deposits or stains, create a natural cleaning solution. A baking soda paste can effectively buff away discoloration without damaging surfaces. Alternatively, some users report success with a 10% white vinegar solution for removing buildup. These natural cleaners eliminate residue without the risks associated with commercial cleaning agents.
Soak plastic parts in lemon water to prevent stains
To tackle persistent discoloration or odors, soak water-safe plastic parts overnight in a solution of 10% lemon juice and 90% water. This natural acid breaks down stains without harming materials. For busy schedules, even a few hours of soaking can make a noticeable difference in restoring your juicer components to like-new condition.
Inspect rubber seals and gaskets regularly
Over time, rubber gaskets and seals will naturally wear out. Regular inspection helps identify when replacement is necessary—before leaks develop or performance suffers. Since these components ensure proper functioning and prevent leakage, checking them during your cleaning routine helps maintain optimal juicing performance.
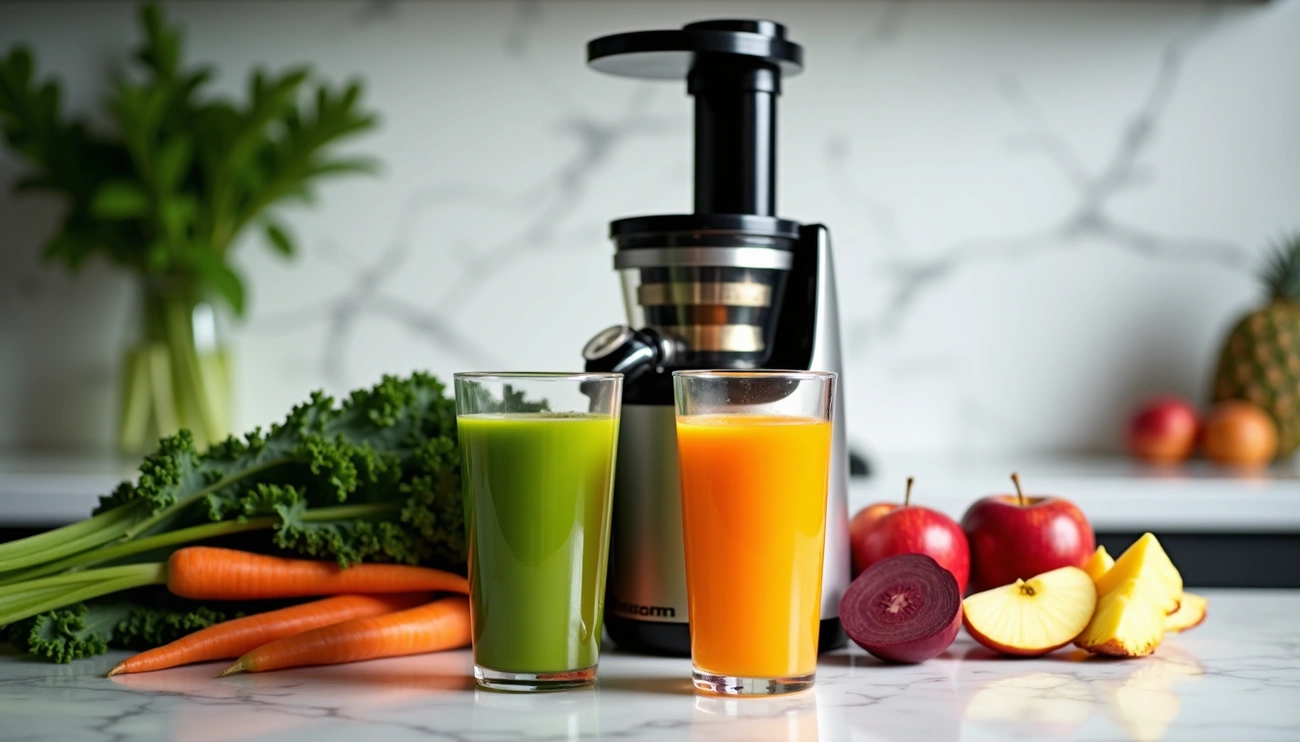
Alternatives to Dishwasher Cleaning
With dishwashers generally not recommended for Hurom juicers, natural cleaning alternatives offer superior protection for your investment. These methods not only clean effectively but also extend the lifespan of your juicer.
Manual cleaning with natural solutions
First and foremost, avoid harsh chemicals that damage juicer parts and leave harmful residues. Natural alternatives are remarkably effective:
- Baking soda – Eliminates 99.99% of bacteria and viruses
- White vinegar – Use in a 1:1 ratio with water for soaking
- Lemon juice – Excellent for breaking down sticky residue
For stubborn stains, overnight soaking in a baking soda solution works wonders for discolored plastic parts.
Using a soft sponge and mild soap
Typically, a simple dish sponge and mild soap suffice for most Hurom parts. For tight spots and mesh screens, the cleaning brush included with your juicer is perfectly designed to reach difficult areas.
Deep cleaning once a week
Weekly deep cleaning prevents long-term buildup. A citric acid solution effectively removes accumulated residue overnight. Alternatively, a 10-minute soak in hot water loosens most debris for easy removal.
How to clean Hurom juicer without damaging parts
For quick cleaning between juices, pour water into the hopper with the juice cap closed, turn on the juicer, then open the cap to flush out residue. Subsequently, a final rinse under lukewarm water removes any remaining particles.
Overall, the basic cleaning supplies needed are warm water, mild soap, cleaning brush, white vinegar/lemon juice, baking soda, and soft cloths.
Conclusion
Proper cleaning of your Hurom juicer significantly extends its lifespan while ensuring optimal juice quality. Throughout this guide, we’ve discovered that despite common assumptions, most Hurom juicer parts should not go in the dishwasher. Specifically, only the auger is officially dishwasher safe, though even then, high-temperature cycles must be avoided.
Hand washing remains the best approach for maintaining your premium juicer. The combination of immediate rinsing after use, gentle cleaning with mild soap, and thorough drying preserves both functionality and appearance. Additionally, natural cleaning agents like vinegar, baking soda, and lemon water offer effective alternatives to harsh chemicals that might damage the components.
Regular maintenance should also include careful inspection of rubber seals and gaskets. These parts naturally wear over time and require occasional replacement to prevent leaks. Therefore, taking a few extra minutes to clean your Hurom properly after each use saves both money and frustration down the road.
