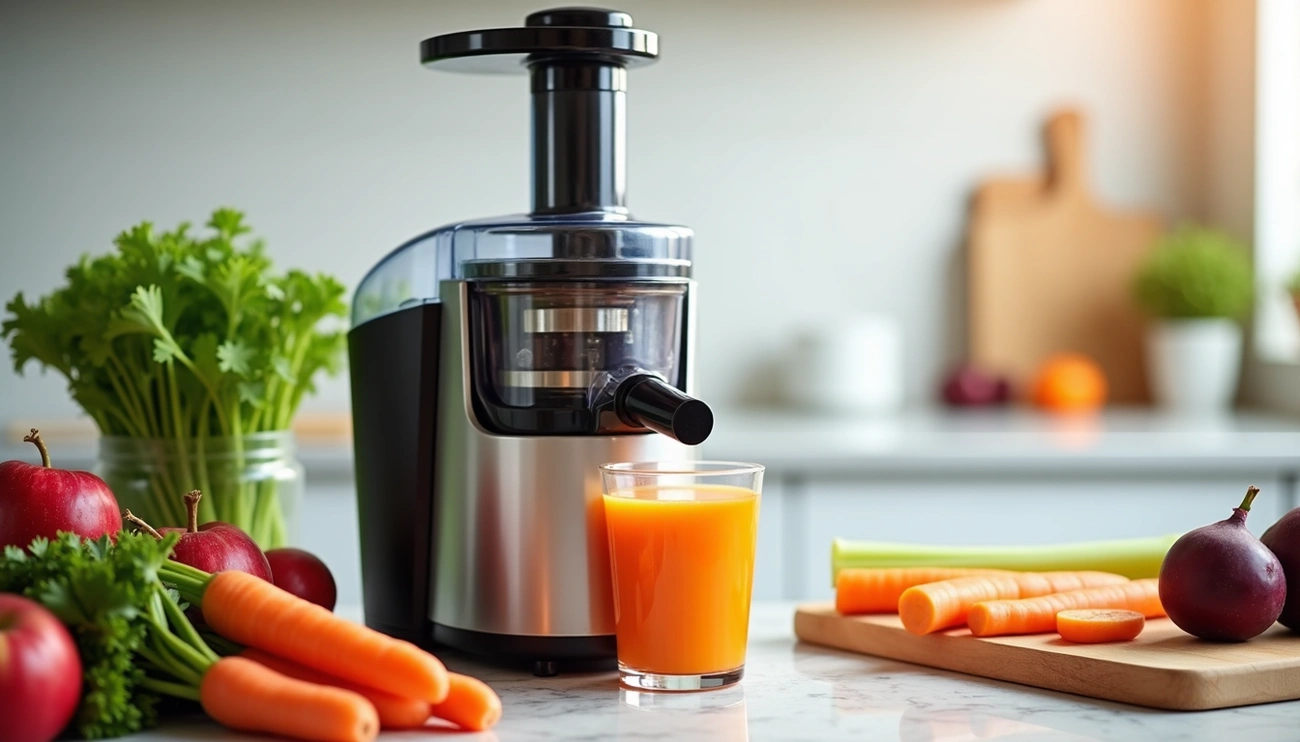
Use a Hamilton Beach juicer by assembling the base, strainer, and lid securely before powering on. Wash and cut produce into 2–3 inch pieces, then insert them into the feed chute while the motor runs. Use the food pusher to guide ingredients. Collect juice in the 20–40 ounce container and clean all removable parts immediately after use.
Understand the Parts of Your Hamilton Beach Juicer
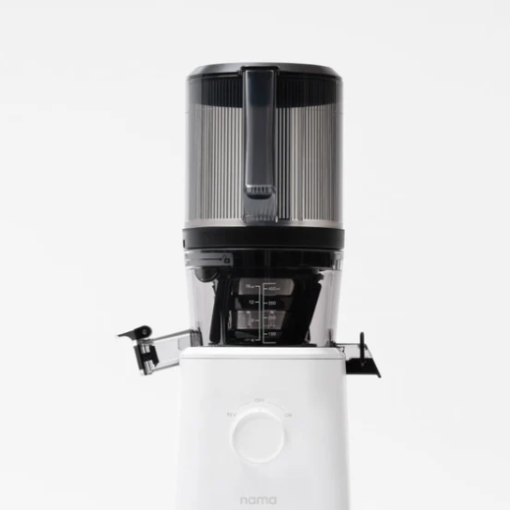
Becoming familiar with each component of your Hamilton Beach juicer is crucial for successful operation. Once you understand how each part works together, you’ll be able to use your juicer efficiently and maintain it properly.
Motor base and control switch
The powerhouse of your Hamilton Beach juicer is its robust 400-watt motor housed in the base section. This provides ample power to process tough ingredients like carrots, apples, and leafy greens. The motor comes with a built-in protection system that prevents wear and tear while extending the motor’s life. The control switch is typically located on the front of the base, offering simple on/off functionality that makes the juicer straightforward to operate.
Juicer cover and feed chute
The juicer cover fits securely over the strainer bowl and contains the feed chute—a standout feature of Hamilton Beach juicers. With a large 2.4″ diameter chute, it saves considerable prep time by reducing the need for precutting by up to 50%. This means you can fit larger pieces of fruits and vegetables, significantly speeding up the juicing process.
Strainer basket and bowl
At the heart of the juicing process is the stainless steel strainer basket that fits inside the strainer bowl. This durable component efficiently separates juice from pulp while straining away seeds for smoother results. The fine mesh screening in the basket requires gentle handling during cleaning and assembly since it can potentially break if damaged. The strainer bowl sits on top of the motor base and collects the extracted juice before it flows to the spout.
Pulp container and juice spout
As juice is extracted, the pulp container collects all the separated fiber and pulp from your fruits and vegetables. This removable container needs regular monitoring during extensive juicing sessions to prevent overflow. The juice spout directs the freshly extracted juice into your collection cup or container, allowing for clean and controlled dispensing.
Food pusher and locking latches
The food pusher is specifically designed to safely guide ingredients through the feed chute into the spinning strainer basket. Rather than using your fingers (which could be dangerous), this component applies even pressure to ensure efficient juice extraction. Meanwhile, the locking latches secure the juicer cover firmly to the base during operation, creating a safe seal that prevents accidents and ensures optimal performance.
How to Assemble the Juicer Correctly
Proper assembly of your Hamilton Beach juicer is essential for optimal juicing results and safety. Following the correct sequence of steps ensures your juicer operates efficiently and prevents potential damage to the components.
Wash all removable parts before first use
After unpacking your Hamilton Beach juicer, your first task is thorough cleaning. Remove the cardboard from the filter basket and wash all removable parts in warm, soapy water. Rinse everything properly and dry immediately afterward. Remember, never immerse the base in water or other liquids; instead, simply wipe it with a damp sponge. This initial cleaning removes any manufacturing residues and prepares your juicer for safe food processing.
Place the strainer bowl and basket
Once everything is clean and dry, begin assembly by placing the strainer bowl securely on top of the motor base. Next, take the stainless steel strainer basket and position it inside the strainer bowl. Using both hands on the outer edge, press the strainer basket down firmly until it latches into position. The basket should spin easily once properly seated. Handle the basket carefully as the fine mesh screening can potentially break if mishandled.
Attach the juicer cover and lock latches
Position the juicer cover over the strainer bowl, aligning the feed chute directly above the strainer basket, then lower it into place. Subsequently, raise the locking latches up to lock them into place. Some models feature a locking arm that clicks when secure. This safety feature is crucial—the unit should never be operated until all latches are properly locked. The secure locking mechanism prevents accidents and ensures optimal performance.
Insert the pulp container and food pusher
Finally, insert the pulp container by tilting it slightly as you position it. Place your juice collection container under the juice spout to catch the extracted juice. Complete the assembly by sliding the food pusher down the feed chute. To do this correctly, align the groove in the food pusher with the small ridge on the inside of the feed tube. The food pusher is designed to safely guide ingredients through the feed chute without requiring you to use your fingers.
How to Use Hamilton Beach Juicer Machine
Getting your Hamilton Beach juicer ready for action marks the exciting part where fresh, nutritious juice becomes a reality. Now that you’ve assembled the unit, let’s explore how to use it effectively.
Prepare fruits and vegetables
Thoroughly wash all produce before juicing. Most fruits and vegetables like apples, carrots, and cucumbers can go in whole thanks to the wide feed chute. However, oranges, melons, and mangoes should be peeled first for optimal flavor. Prep time can be minimized by washing and cutting fruits in advance, then storing in individual bags for quick morning juicing.
Turn on the juicer and feed ingredients
First, ensure your juice container is positioned under the spout and the pulp container is properly in place. Plug the juicer into a 120-volt AC outlet. Press the ON button or switch to start the motor. Once running, begin placing food pieces down the feed chute.
Use the food pusher safely
Never use your fingers to push food down the chute – this poses a serious laceration hazard. Instead, always use the food pusher provided with your juicer. For maximum juice extraction, push the food down slowly and gently.
Collect juice and monitor pulp container
As you juice, fresh liquid will flow into your container while pulp accumulates in the pulp bin. Check the pulp container frequently – it’s essential to empty it when full. You can pause juicing by turning the unit off, removing and emptying the pulp container, then continuing.
Tips for better juice extraction
For optimal results, push the food pusher down slowly. Alternate between soft and hard ingredients to prevent clogging and improve juice yield. If using a multi-speed juicer, start with lower settings for soft fruits or leafy greens, switching to higher speeds for harder produce. For easy cleanup, consider lining the pulp container with a plastic grocery bag.
Cleaning and Troubleshooting Tips
Regular maintenance and proper cleaning ensures your Hamilton Beach juicer continues to perform at its best. Proper care also extends the life of your appliance and keeps juice extraction efficient.
How to disassemble safely
First, always turn the juicer OFF and unplug it from the power outlet before starting any disassembly. Allow the strainer basket to completely stop turning before proceeding. To disassemble properly:
- Release the locking latches by moving them downward
- Carefully lift off the cover
- Remove the pulp container by sliding it away from the motor base
- Lift off the strainer bowl with the strainer basket still in place
- Turn the strainer bowl upside down over a sink and carefully remove the strainer basket
Cleaning the strainer basket and parts
The strainer basket requires special attention as it contains small, sharp blades. Soaking the basket in hot, soapy water for approximately 10 minutes immediately after juicing prevents pulp from drying and clogging the fine mesh pores. This preserves the juicer’s effectiveness. For stubborn residue, use a soft brush and warm water. Most removable parts can be placed in the dishwasher, although hand washing is gentler on components. Never immerse the motor base in water – simply wipe it with a damp cloth.
Using the cleaning brush effectively
The included cleaning brush is specially designed for the strainer basket. Hold the basket under running water and thoroughly brush both inside and outside surfaces. This removes pulp that could inhibit juice flow. Always treat the basket with care as it can be easily damaged. For heavy pulp buildup, disassemble the strainer basket by carefully removing the three screws from the grating disk.
Common issues and how to fix them
For motor issues, check if the locking latches are properly engaged in the grooves. If the motor stalls, try a slower juicing action by pushing the food pusher more gently. When excess pulp builds up in the strainer basket, clean the mesh walls with the fine brush. For insufficient juice extraction, adjust to a slower juicing pace. Machine vibration typically indicates pulp buildup in the strainer basket.
Conclusion
Mastering your Hamilton Beach juicer certainly doesn’t require professional skills. Throughout this guide, we’ve walked through everything you need to know about your juicer – from identifying each component to proper cleaning techniques. The wide feed chute stands out as a time-saving feature, allowing you to juice whole fruits without extensive prep work.
Additionally, the simple assembly process makes this juicer perfect for beginners. Remember, proper handling of the delicate strainer basket remains essential for extending the lifespan of your appliance. Safety also deserves your attention – always use the food pusher rather than your fingers when guiding ingredients through the feed chute.
Regular cleaning after each use prevents pulp buildup and keeps your juicer functioning optimally. The included cleaning brush works wonderfully for removing stubborn residue from the strainer basket mesh.