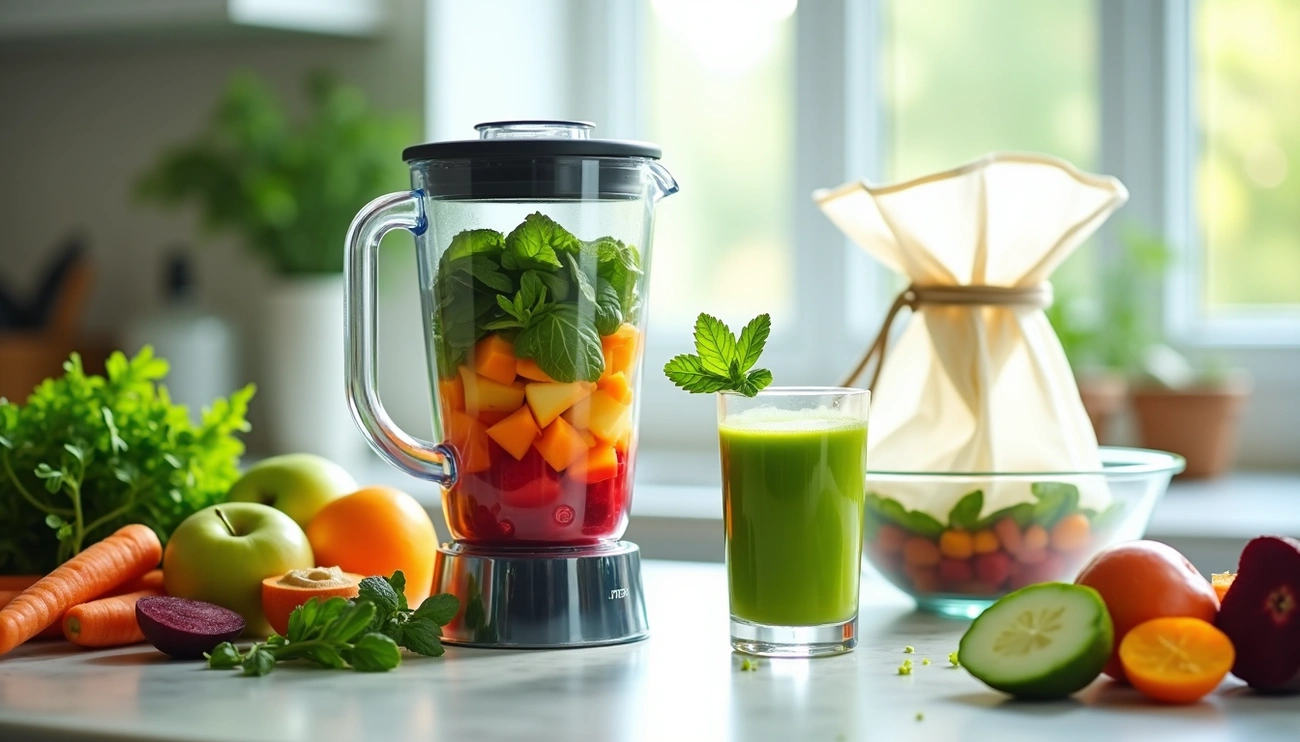
Yes, you can juice without a juicer by using a blender and a straining method. Blend fruits and vegetables with 120–240 milliliters of water, then strain the mixture through a nut milk bag, cheesecloth, or fine mesh strainer. Squeeze firmly to extract as much liquid as possible.
Tools You Need to Juice Without a Juicer
To successfully juice without a juicer, you’ll need to gather a few essential kitchen tools. Most of these items are likely already in your kitchen, making juicing in a blender both accessible and affordable.
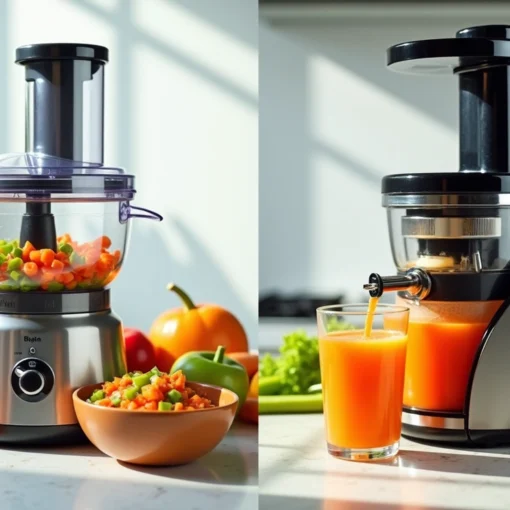
Blender vs food processor: what works best
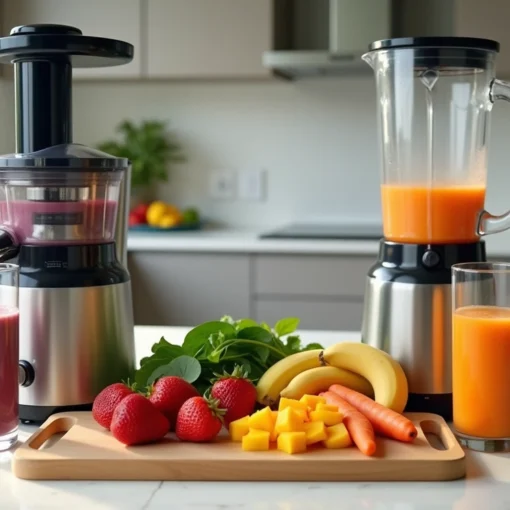
When considering how to juice without a juicer, your blender will be the star of the show. High-powered blenders like Vitamix or Blendtec work best because they thoroughly pulverize produce, but a standard blender will also get the job done. You’ll simply need to cut produce into smaller pieces and blend longer.
Food processors, meanwhile, can handle dry ingredients well but aren’t ideal for juicing. Blenders have distinct advantages for this purpose – they feature tall jars perfect for containing liquid recipes and typically have a single blade designed for pureeing and liquifying. Food processors have wider work bowls and multiple blades meant for chopping and slicing rather than creating smooth liquids.
Nut milk bag, cheesecloth, or fine mesh strainer
After blending, you’ll need something to separate juice from pulp. I’ve found these three options work effectively:
- Nut milk bag – My top recommendation. These reusable bags have a fine mesh that catches pulp while allowing smooth juice to pass through. They’re specifically designed for straining liquids and provide the cleanest results.
- Cheesecloth – A good alternative, though slightly messier. You’ll need to lay it over a bowl, pour in your blended mixture, then gather the edges to twist and squeeze. Consider layering several sheets for better filtration.
- Fine mesh strainer – The most common household option. A 6-inch diameter stainless steel strainer works well for catching seeds, pulp, and other particles. Place it over a bowl and use a spoon to press the juice through.
Optional tools to make cleanup easier
Juicing without a juicer can get messy, particularly with vibrant fruits and vegetables that stain. Consider using an apron to protect your clothing and gloves to prevent staining on your hands. Furthermore, having dedicated containers for storing your fresh juice is helpful – clean glass jars work perfectly and keep juice fresher longer.
For freezing extra juice, ice cube trays provide a convenient storage solution. These frozen juice cubes can be added to water or smoothies later.
Step-by-Step: How to Make Juice Without a Juicer
Making juice without specialized equipment is easier than most people think. Once you’ve gathered your tools, follow these simple steps to create delicious homemade juice.
1. Wash and prep your produce
Initially, clean all fruits and vegetables thoroughly under running water. For firm produce, use a sturdy vegetable brush to remove dirt and residue. It’s essential to wash produce before peeling so you don’t transfer bacteria to the inside.
Next, prep your ingredients:
- Remove any damaged areas on fresh fruits and vegetables
- Peel non-organic carrots and citrus fruits (leave skin on for organic options)
- Cut away thick skins from ingredients like beets, ginger, and turmeric
- For leafy greens, you can remove stems for easier blending
- Cut everything into small chunks (about 1.5-2 inches) to help your blender process them effectively
2. Blend with a splash of water
Start by adding a small amount of water to your blender – approximately 1/4 cup per batch. This creates the liquid foundation and keeps everything moving smoothly. For a full recipe, you might need about 1 cup of water total.
If using leafy greens, blend these first with water for about 30 seconds. Subsequently, add remaining ingredients and blend on high speed for 1-2 minutes until completely smooth. For tougher ingredients, you might need to blend in multiple batches.
3. Strain using a nut milk bag or cheesecloth
Place your straining device (nut milk bag, cheesecloth, or fine mesh strainer) over a bowl or pitcher. Pour the blended mixture through slowly.
Once filled with pulp, gather the corners of your cheesecloth or nut milk bag and twist firmly. Squeeze until all juice is extracted. The pulp should be relatively dry afterward.
4. Pour and store your juice
Transfer your freshly squeezed juice into a glass or storage container. For optimal nutrition, drink immediately. If storing, pour into an airtight container filled to the top to minimize oxidation.
Fresh juice can be stored in the refrigerator for up to 24 hours, though nutritional value begins declining after extraction through oxidation.
Tips to Improve Texture and Flavor
Creating smoother, tastier juice without a juicer involves a few expert techniques. Let me share some tricks I’ve discovered after years of blender juicing.
How to avoid pulp-heavy juice
The right straining technique makes all the difference in texture. Nut milk bags are most efficient since you can hand-squeeze them, leaving behind much drier pulp and extracting maximum juice. Alternatively, layering multiple sheets of cheesecloth captures more fiber than using just one layer. Moreover, pre-chopping watery ingredients like cucumber or citrus creates a liquid base, reducing the need for added water that might dilute your juice.
Using citrus and herbs for better taste
Herbs transform ordinary juice into something extraordinary. Mint pairs wonderfully with cucumber, apple, and celery, enhancing both flavor and nutritional value. For leafy green juices that taste bitter, adding fresh lemon juice cuts through the astringency. Basil elevates strawberry lemonade and watermelon drinks, whereas rosemary complements pear and apple juices beautifully. Indeed, even a small amount of ginger adds warmth and complexity to almost any juice combination.
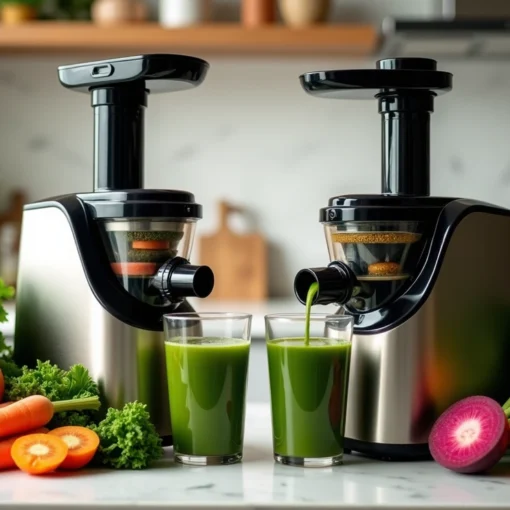
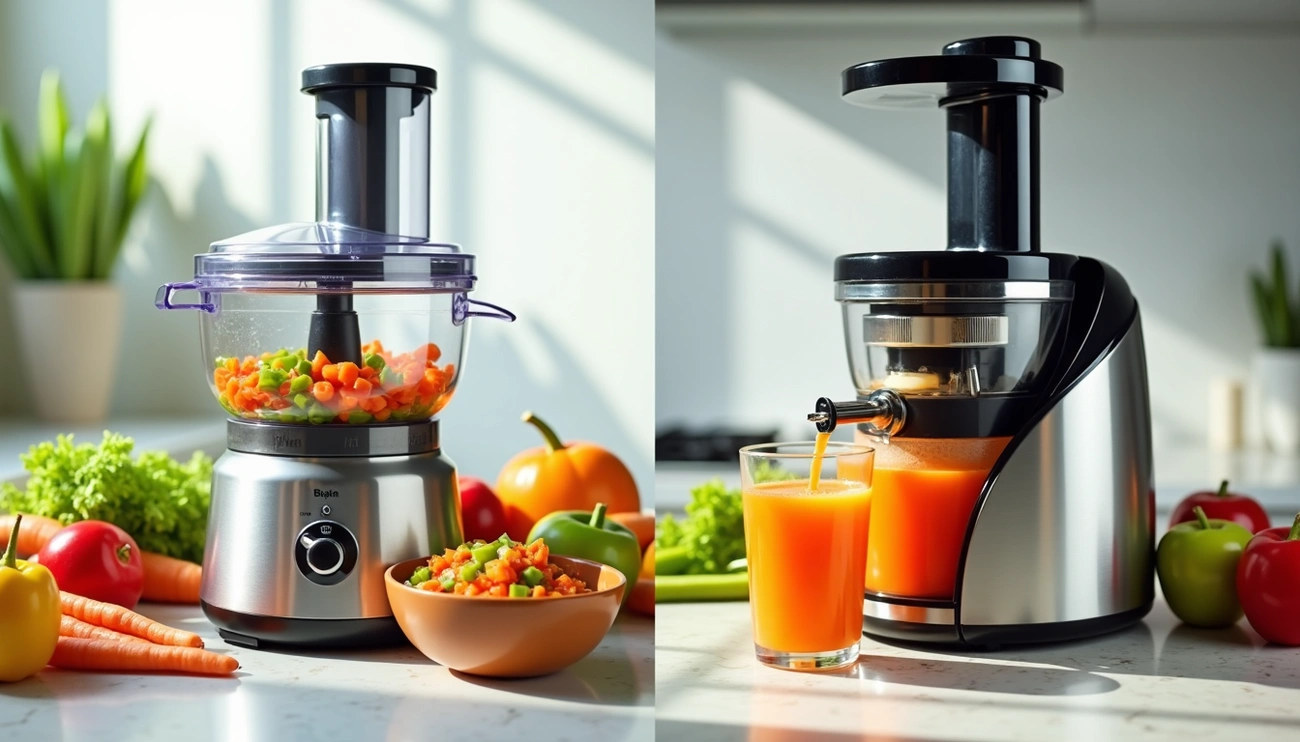
Can you use a blender as a juicer?
Absolutely! A blender transforms into an effective juicer with proper technique. During testing, the juice yield between blender/straining and dedicated juicers was identical. The primary difference lies in texture – blender juice often appears clearer after straining. Additionally, blender-made juice retains more fiber if not strained completely, which helps stabilize blood sugar levels when consuming fruit juices.
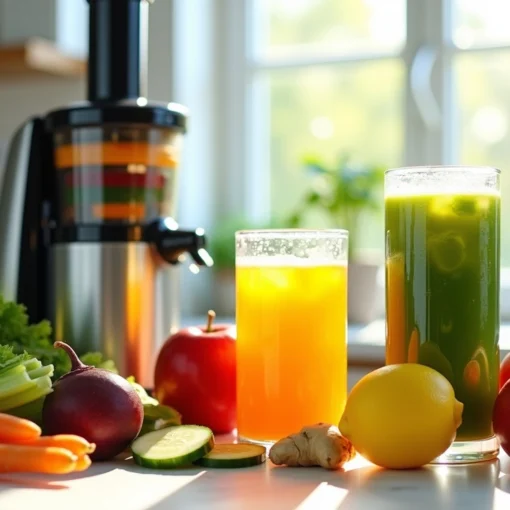
Easy Juice Recipes to Try at Home
Now that you’ve mastered the technique, try these nutrient-packed recipes without investing in expensive equipment.
Green Detox Juice
This cleansing juice combines antioxidant-rich greens with refreshing flavors. For optimal results when juicing without a juicer, blend kale (stems removed), spinach, cucumber, celery, green apple, lemon (peeled), and a 1-inch knob of ginger with 1 cup of filtered water. The cucumber’s high water content helps everything blend smoothly. After straining, you’ll have a mineral-rich drink that supports your body’s natural detoxification process.
Beetroot Energy Juice
Boost your stamina with this vibrant red juice. Chop beets (leave the peel on but scrub well), apple, and a small piece of ginger. Add these to your blender with an orange (peeled) and half a lemon. Beets are particularly effective when juicing in a blender as they break down easily. This crimson concoction provides folate, manganese, and nitrates known to enhance circulation.
Tropical Carrot Juice
Create sunshine in a glass by blending 2 cups chopped carrots, 1 cup mango, 1 cup pineapple, and 1 teaspoon grated ginger. The natural sweetness eliminates the need for added sugar. This golden elixir works wonderfully when making juice without a juicer, as the tropical fruits create a perfect consistency.
Berry Mint Juice
This refreshing purple drink combines 2 cups of berries (fresh or frozen), mint leaves, lemon juice, and a touch of sweetener if needed. The bright, cooling flavor makes it perfect for hot days. Plus, berries blend exceptionally well, making this ideal for juicing in a blender.
Conclusion
Juicing without a juicer is certainly possible and surprisingly effective. After trying this method myself, I can confidently say that a good blender, combined with the right straining technique, produces results comparable to expensive juicers. Although the process takes about 25 minutes compared to a juicer’s 2 minutes, the final product offers identical yield and often clearer juice.
The simplicity of this approach makes fresh juicing accessible to anyone. Most importantly, you likely already own everything needed to start your juicing journey today. A standard blender, nut milk bag or cheesecloth, and basic kitchen tools will suffice for creating nutritious, homemade juice.
Additionally, this method offers flexibility for experimentation with different flavors and ingredients. You can adjust recipes based on your preferences, adding herbs for enhanced flavor or combining fruits and vegetables for balanced nutrition. The extra fiber retained through this method also helps stabilize blood sugar levels when consuming fruit juices.